Using SAS for MMIS Courses
The purpose of this page is to help users understand the basics of using SAS. Please note that while this page will help get you started, it is important that you read all directions in the Canvas module items and course assignments.
The following MMIS programs use SAS Studio and SAS Enterprise Miner:
- MMIS 501
- MMIS 504
- MMIS 522
- MMIS 523
- MMIS 524
Be sure to also use the Additional Resources page of this guide to access more in-depth SAS training materials and how-to videos.
If you have any questions or concerns, visit the Support page of this guide
Using SAS Studio: Uploading an Excel Data Sheet
The area of this guide is to help you understand how to upload and save an Excel data file in SAS. Doing so will allow you to use the data for any SAS task within SAS Studio. These steps must be completed before your data is ready to use in SAS.
Additionally, please refer to your course for any assignment specific directions.

Step 2
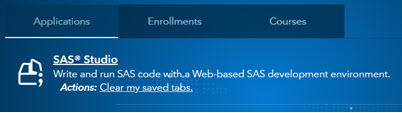
Select SAS Studio from your SAS dashboard.
Step 3
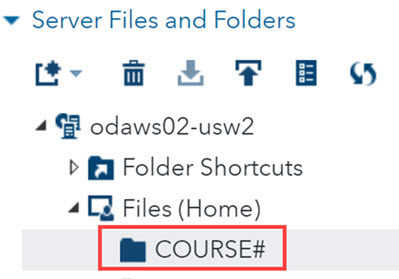
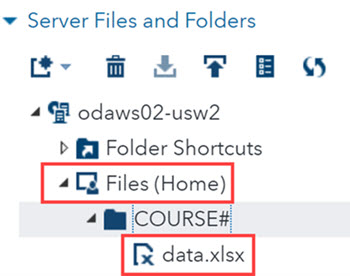
Select Files (Home) in the Server Files and Folders section. This will allow you to upload your Excel file into SAS.
Step 4
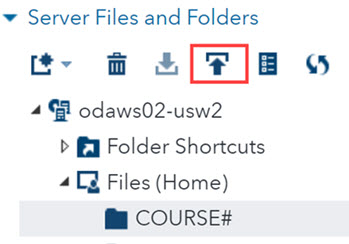
Select the icon.
Step 5
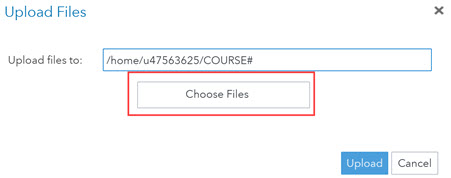
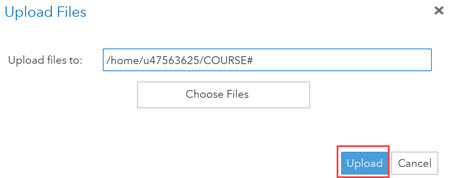
The Upload files textbox shows you the path your document will be saved under.
Select Choose Files. This opens up your device's file explorer. Find and open the Excel file you want to upload.
Step 6
Select Upload.
Step 7
Open the Files (Home) folder. The Excel file you uploaded will now be listed at the bottom. Double-click it to open it as a new tab in the SAS interface.
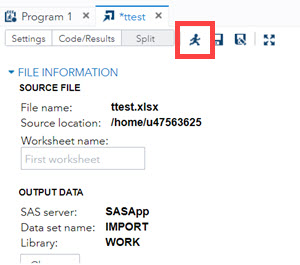
Step 8
You'll see file information open on the right. Select the icon in the toolbar. This helps generate a table of the data in SAS.
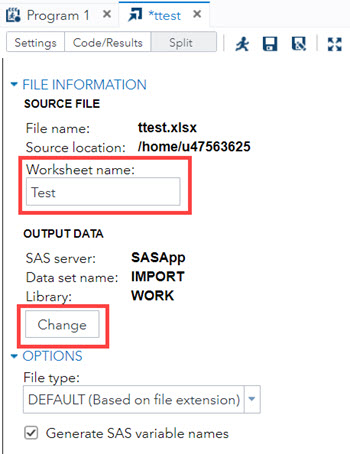
Step 9
You need to now name the data worksheet you'll use in SAS. Type the name in the textbox and select Change. A dialog box with your SAS libraries will open.
Note: You may need to scroll down or expand the window to see the change button.
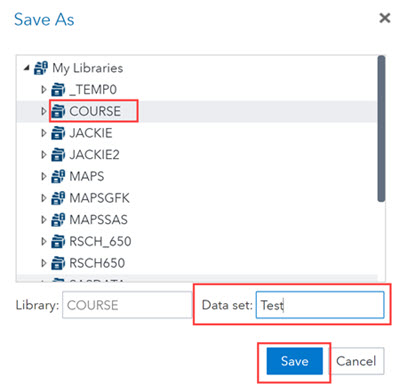
Step 10
Select WORK from the list of libraries.
In the Data set textbox, type the worksheet name.
Then select Save.
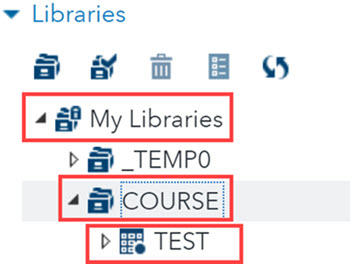
Step 11
Open the Libraries directory and open the WORK folder.
Double-click IMPORT to open your data in the SAS interface.
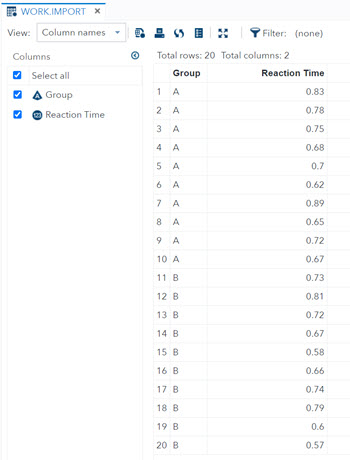
Step 12
You can now see your data organized in columns. You can use this data set to perform multiple tasks in SAS. Visit your course for specific information on the necessary tasks you need to complete.
You may want to visit the Additional Resources page for comprehensive SAS guides and video tutorials. This can help you in performing tasks within the SAS Studio interface.
Coming Soon