Creating and Sharing Your Blog
Review the tabs to learn how to create a blog, share a blog, and find additional resources on Blogger.
Create Your Blog
Step 1: Select Create New Blog.
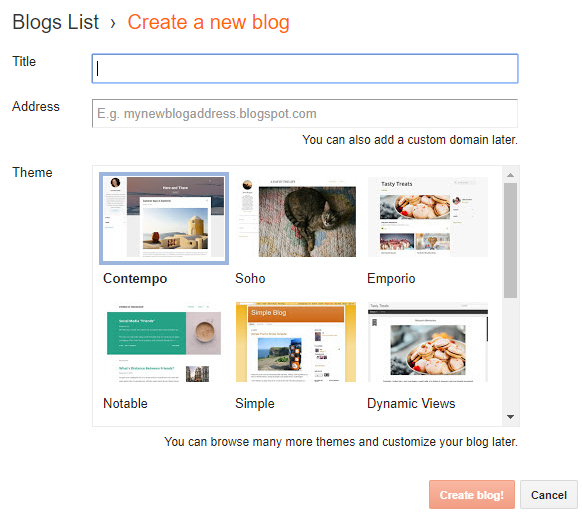
Step 2: Choose your blog's name, URL, and style. You may want to verify if your course instructions contain any specific naming criteria.
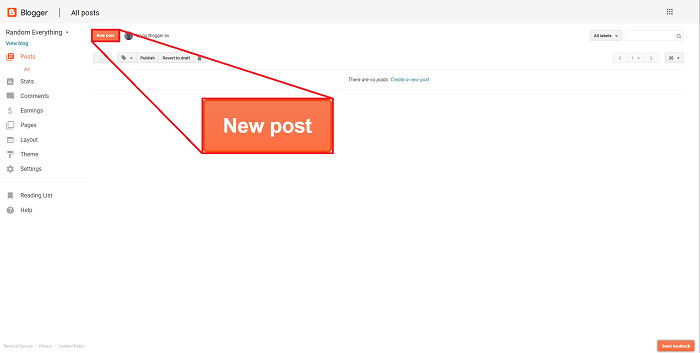
Step 3: To create your first blog post, select New Post.
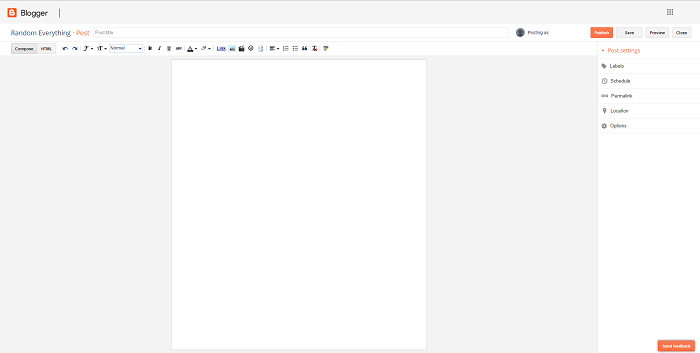
Step 4: Editing a blog post is as easy as editing a Microsoft Word Document or Google Doc file.
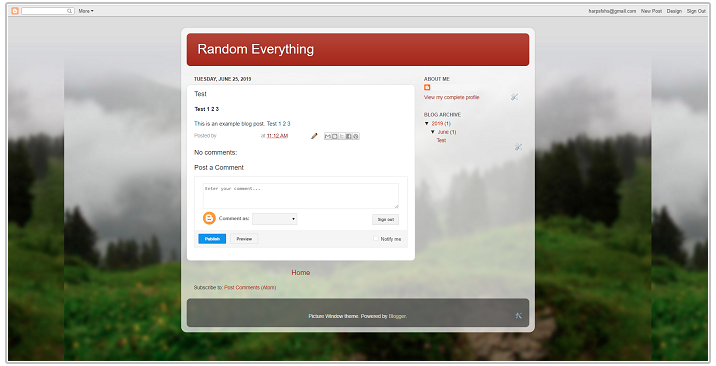
Step 5: After Publishing your blog, it will look similar to this:
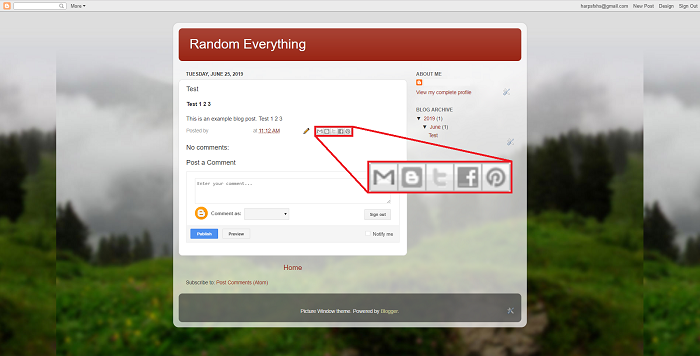
You can share your blog via Gmail, Blogger, Twitter, Facebook, or Pinterest by selecting their associated icons.
Blogs created through Blogger are public by default. Blogs are accessible through the custom URL you created. By copying and pasting the website link, anyone can view your blog posts.
Follow these instructions to allow only specified people to view your Blog.
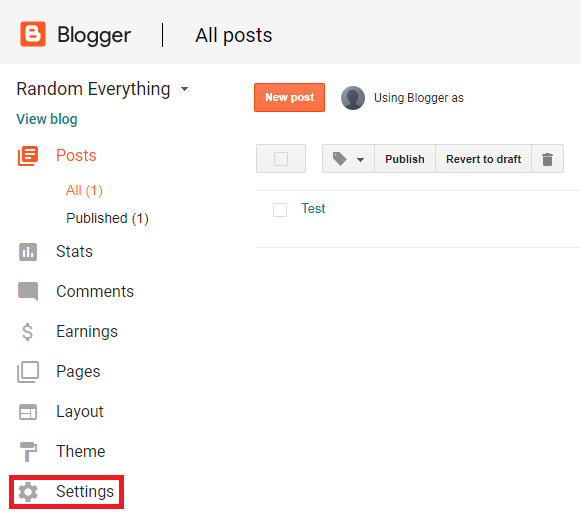
Step 1: Select Settings and scroll to the bottom section titled Permissions.
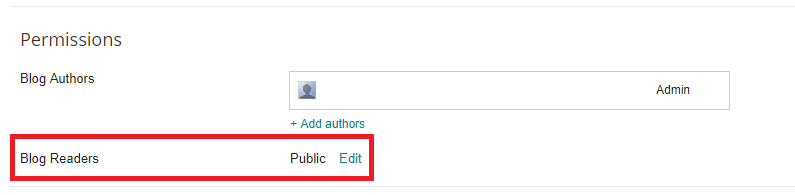
Step 2: From Blog Readers, select Edit.
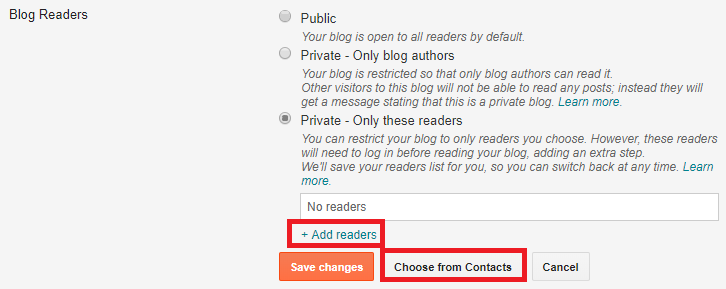
Step 3: Select Private - Only these readers.

Step 4: Select Add Readers then select Choose from Contacts.
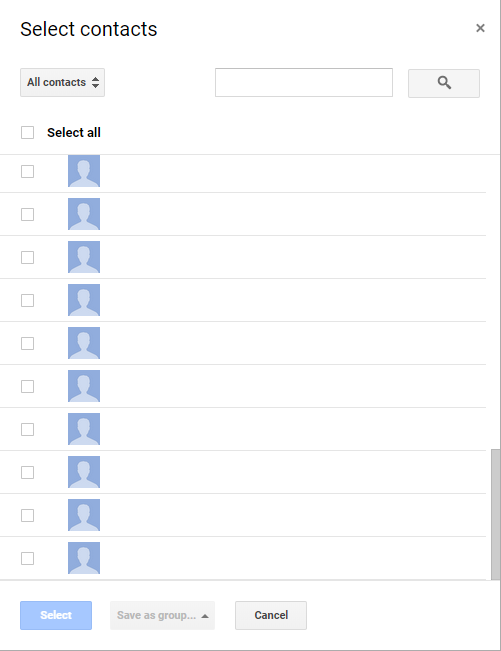
Step 5: Select desired readers from your Google contacts and share privately with your instructor. The instructor will need to have a Google account in order for you to share with them.
Visit the Blogger Help site to browse or search for instructions. Here are some guides to answer common questions and help you get started on your blog: