Using Microsoft Project
Microsoft Project lets you schedule out a project and assign resources (i.e. people) to a project.
Microsoft Project is one of Microsoft's more advanced programs. There are many advanced tools within the software; this section will only cover the basics to get users started.
To learn more about Microsoft Project's advanced features, check out the Microsoft Project Help Center.
Create a Project from a Template
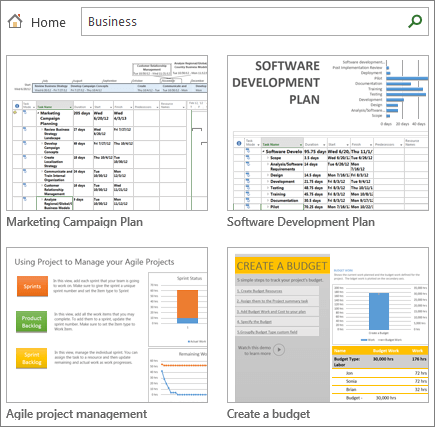
- Open Microsoft Project or select File then New if you are already working in a project plan.
- Select a template or type in the Search for online templates box. Alternatively, you may select Blank Project to create a project from scratch.
- When you select a template, select the options you want, and select Create. Be sure to change the resources, tasks, and duration in the template so they match your project.
Need additional support? Visit the Microsoft Support Page: Create a new project.
Add Tasks to a Project
- Select View, Task Views, then Gantt Chart.
- Type a task name in the first empty Task Name field.
- Press Enter on your keyboard.
- Repeat steps 2 and 3 as needed.
You may also add multiple tasks at one time if adding them individually takes too long.
Need additional support? Visit the Microsoft Support Page: Add new tasks.
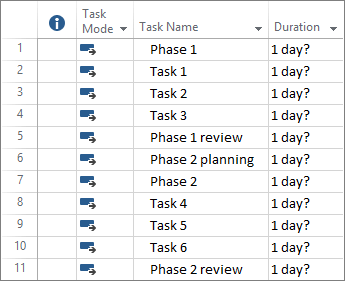
Outline Tasks in a Project
Indent and outdent tasks to show hierarchy. An indented task becomes a subtask of the task above it, which becomes a summary task.
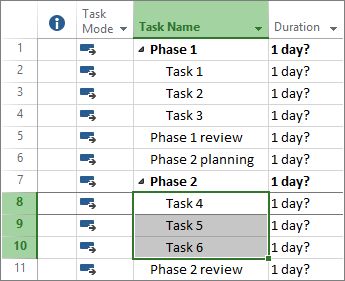
- Select View, Task Views, then Gantt Chart.
- Select the task or tasks in the Task Name column that you want to indent or outdent.
- Select Task, Schedule, then either Indent Task or Outdent Task .
You may also use subtasks and summary tasks to show phases, easily navigate through large projects, and more.
Need additional support? Visit the Microsoft Support Page: Basic tasks in Project.
Link Tasks in a Project
You can link any two tasks in a project to show their relationship, which is called a task dependency. After you link the tasks, every change you make to one affects the other.
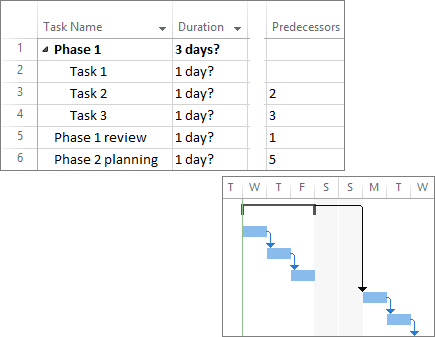
- Select View, Task Views, then Gantt Chart.
- Hold down Ctrl on your keyboard and select the two tasks you want to link (in the Task Name column.
- Select Task then Link the Selected Tasks or press Ctrl+F2 on your keyboard.
Need additional support? Visit the Microsoft Support Page: How Project schedules tasks.
Change your View
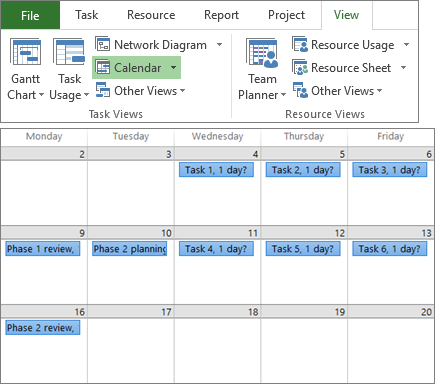
- Select the View tab.
- Do one of the following:
- Select the view that you want to use in the Task Views group or Resource Views group.
- Select Gantt Chart then More Views to see all the available views, and then select from the options in the More Views dialog box.
Add a Milestone
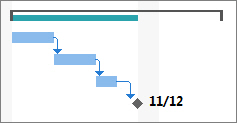
- Select View, Task Views, then Gantt Chart.
- Type the milestone name in the first empty row or select a task you want to turn into a milestone.
- Type 0 in the Duration field.
- Press Enter on your keyboard. The milestone symbol is now part of your Gantt Chart.
Need additional support? Visit the Microsoft Support Page: Add a milestone.
Assign People to Tasks
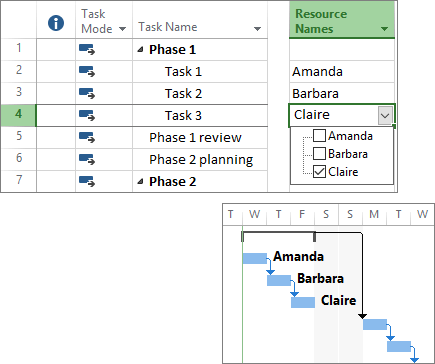
- Select View, Task Views, then Gantt Chart.
- Select the arrow in the Resource Names column for the task you want to assign.
- Select the people from the list or type a new name.
Need additional support? Visit the Microsoft Support Page: Add people and assign them tasks.
Set a Baseline
You can take a snapshot of your original schedule by setting and saving a baseline. This lets you see how your project is doing compared to your original plan.
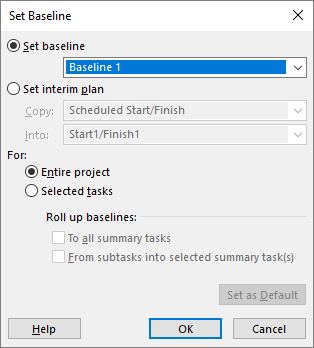
- Select Project, Schedule, Set Baseline, then Set Baseline.
- Select the baseline you want to set from the Set baseline list.
- Select Entire Project.
- Select OK.
Need additional support? Visit the Microsoft Support Page: Set and save a baseline.
Create a Project Report
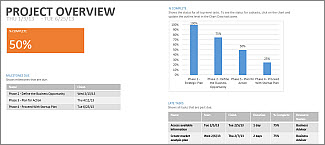
- Select the Report tab.
- Select the type of report you want in the View Reports group, and then select a specific report.
Need additional support? Visit the Microsoft Support Page: Create a Project report.
How to Share Project for Course Submission(s)
There are two methods of sharing your project.
Method 1
You can generate and share parts or all of a Project report. These reports can be used for supporting documentation in report writing as well.
- Select the Report tab.
- Select the type of report you want in the View Reports group, and then select a specific report.
Need additional support? Visit the Microsoft Support Page: Create a Project report.
Method 2
Attach the Microsoft Project file to your Canvas assignment or email.
Note: If you would like to share via email, we do not recommend using the Share option under File. Instead, it is reccommended that you attach your file to an email.