Creating a Video
Once Studio is launched, you may create videos, screen captures, upload videos from a computer file, or include a YouTube video.
Recording a Video
To create a new video or screen capture, click record and choose which recording type you wish to utilize from the drop down menu.

When recording, you must first allow Studio to access your computer's microphone and camera. This will only need to be done once. After you have allowed Studio to access your camera and microphone, you may change the (1) webcamera and (2) microphone source before (3) recording.
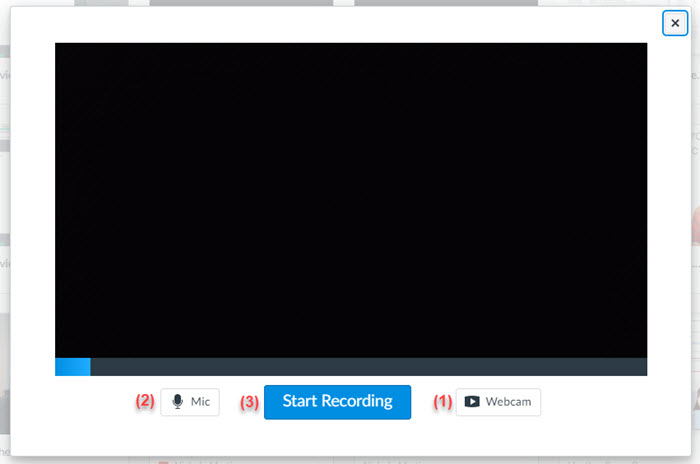
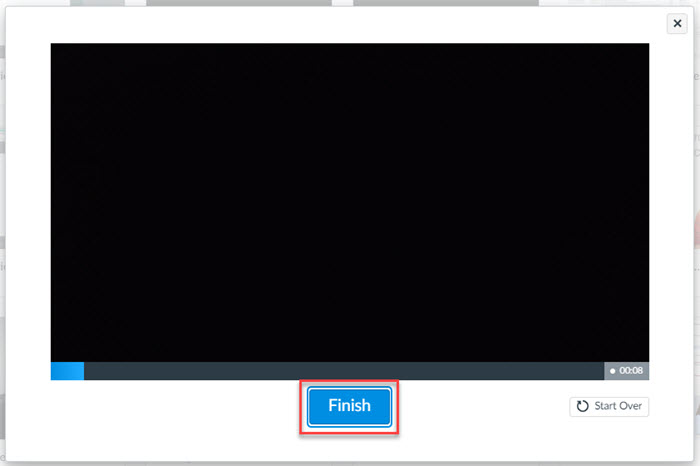
Once the record button is selected, Studio will count down from three to one. After you have finished recording your video, click finish.
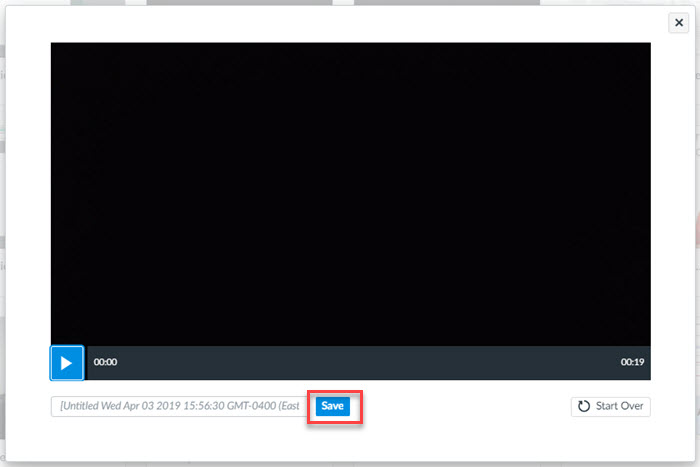
After you have finished recording, save your media.
Recording a Screen Capture
If you choose to do a screen recording, you will need to download the Screen Capture Application.
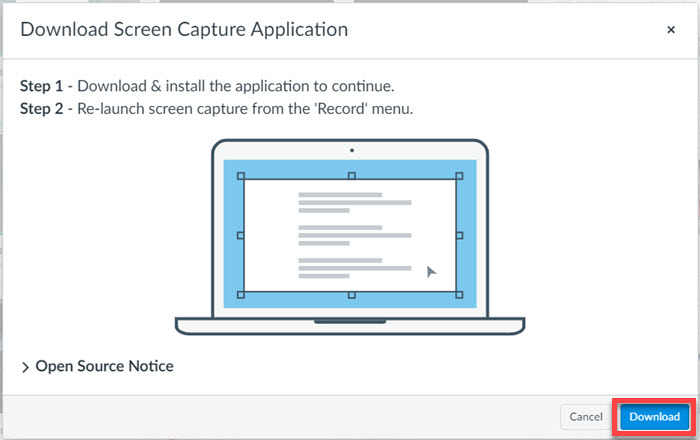
After the screen recording application is downloaded and installed, select Screen Capture. When the record frame opens, select Rec.
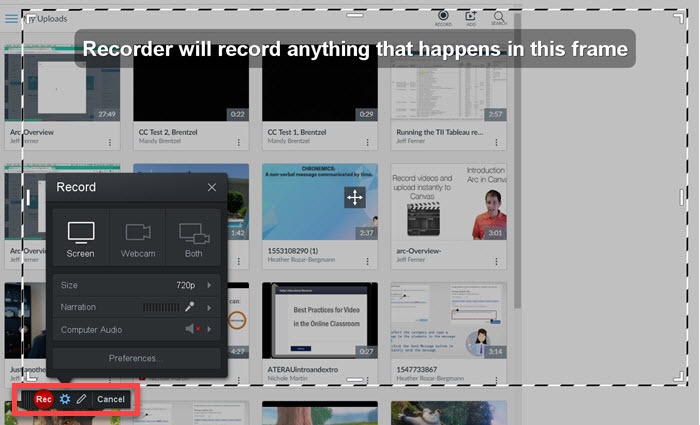
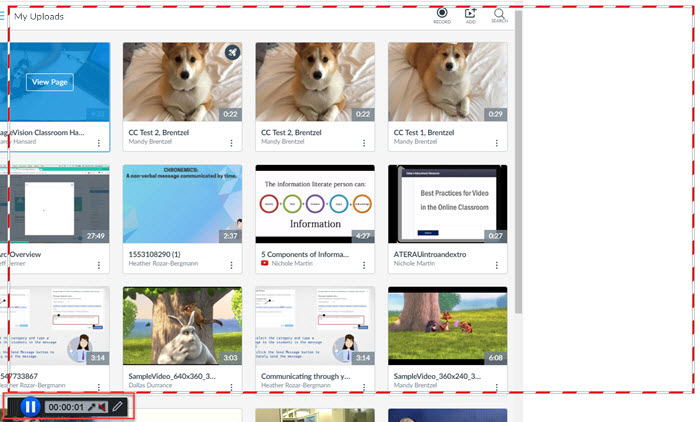
While the screen is being recorded, the outside border will be outlined in a red and white frame. Selecting the pause button allows you to pause the screen capture or finalize your recording.
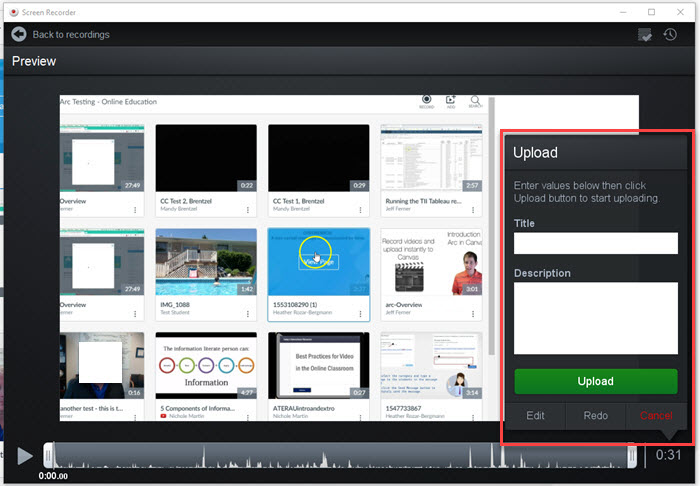
When the screen recording is complete, select Done. Then it can be titled, a short descritpion added, and then uploaded to your Studio media.

Adding Media from a Computer or YouTube
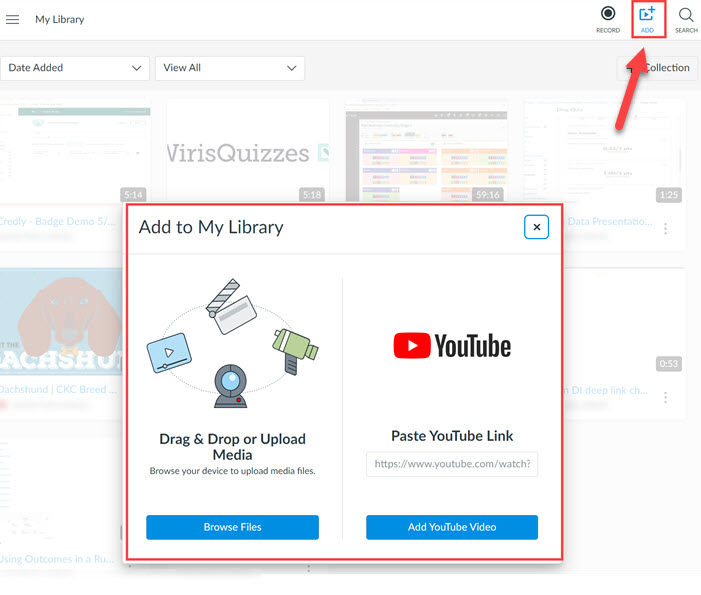
To add media from a computer or to upload a video from YouTube, click the ADD button. In the pop-up dialog box, drag and drop a file, browse your computer, or paste a YouTube video link.
Changing the Thumbnail
From My Uploads, locate the media image you would like to edit and click the three vertical dots in the bottom right. Click "Replace Thumbnail". Select an image from your computer to replace the original image.

Adding Tags
To add a tag:
- Locate media and click View Page
- Click Details
- Select Edit details to make changes to the Title, add a Description, and to include Tags
- Click Save
Note: Tags are crucial as they allow you to search for previously created or uploaded media. Multiple tags are encouraged. To add multiple tags type your tag name and press enter between each tag. Examples of tags may be, a course title, course number, weekly assignment, bio, announcement, etc.

For a more comprehensive guide, or further information, please visit the following Canvas pages: