Emergency Room Simulation
The Emergency Room Simulation is intended to cover the general operations of an emergency department in a small to mid-size hospital. Patients come in through the Waiting Area or the Ambulance Entrance and are seen in Triage. They are then moved to Trauma, Treatment or Isolation Rooms.
Select a tab to the left to learn more about the Emergency Room Simulation.
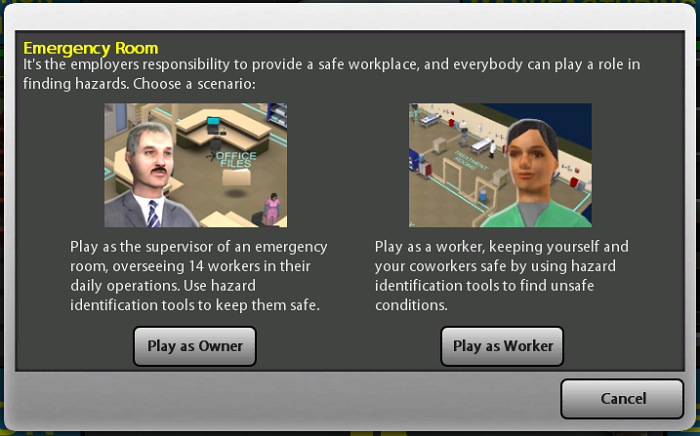
Select a Role
You have the option to roleplay as an owner or as a worker. Refer to your instructor or course material to determine which role to select.
Tutorial Option
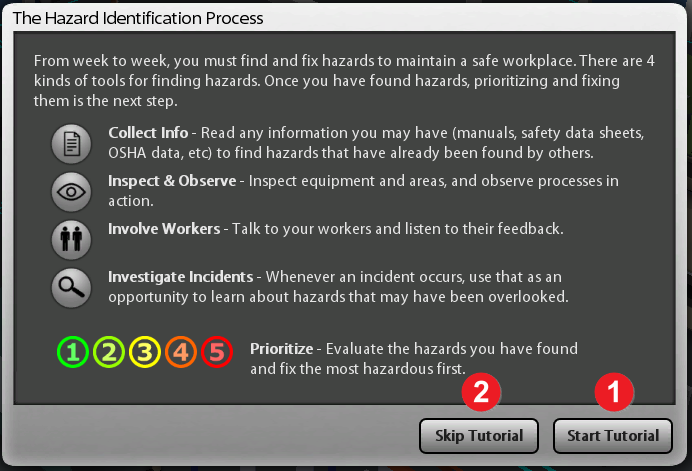
You have the option to see a tutorial of how the simulation works. If this is your first time using this program, we highly recommend using the tutorial. The tutorial is less than 5 minutes.
User Buttons
Below is a summary of the user buttons not included in the tutorial.
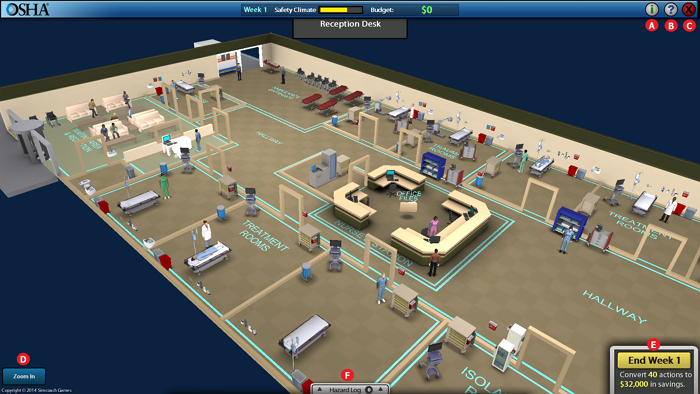
- Summary - Includes Actions, Outcomes, and Related OSHA Websites.
- Help Menu - Includes How to Play, Hints, Tools, and the Game Manual.
- Exit - Return to the main menu or close the program.
- Zoom - Select this button to zoom in. Click and drag to move your view in the simulation. If you select the button again, it will zoom back out.
- End Current Week - Select to end the current week. The simulation is 30 weeks long.
- Hazard Log - Select to open the hazard log. From here, you may fix any hazards that were found.
Play as an Owner
Find and Fix Hazards
Below are the steps to find and fix any hazards. You have 40 "actions" per week and 20 weeks. The goal is to maximize profit while minimizing risk.
Step 1: Investigate Hazards
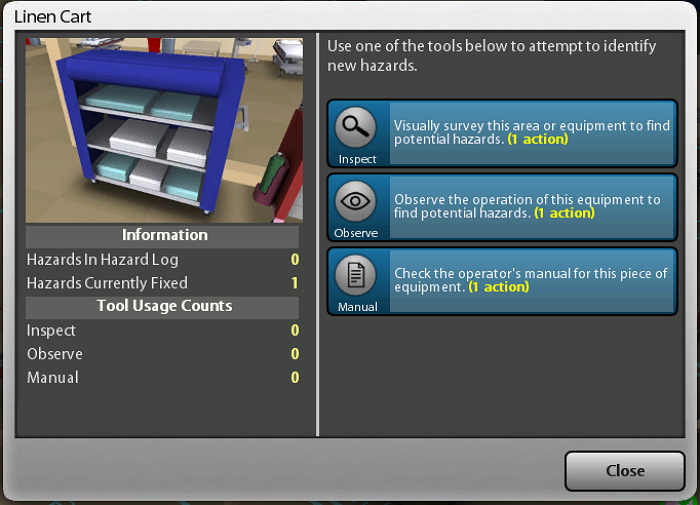
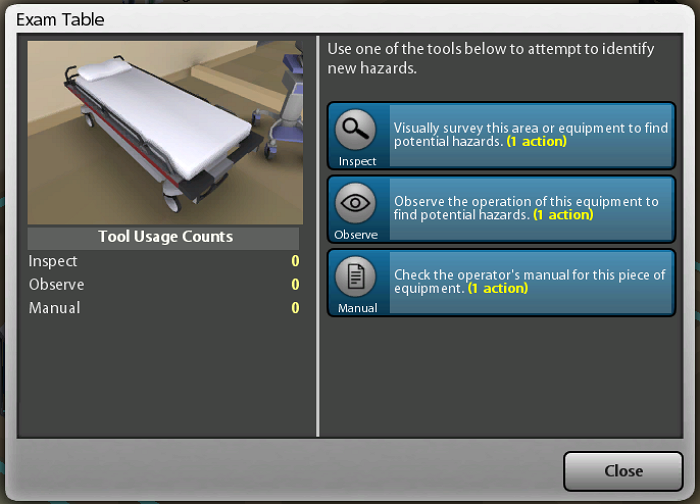
Select any piece of equipment, area, or worker to investigate. This particular piece of equipment has three investigation methods to find hazards. Note how many actions it will take to complete the investigation. Select any option to find potential hazards.
Take note of the statistics on the left side of the window. If you forget if you have already taken some actions on any piece of equipment, area, or worker, the numbers next to each action is counted throughout the simulation. You want to spread your actions among items that need more attention (i.e. items that have zeros next to the items on the left).
Hint: If there is a worker outlined in red, there is an increased chance of an accident happening once you end the week. You will want to fix items in that area before an accident occurs. In addition, be sure to check the Office Files regularly as you will find many hazards by investigating these.
Step 2: Found Hazard
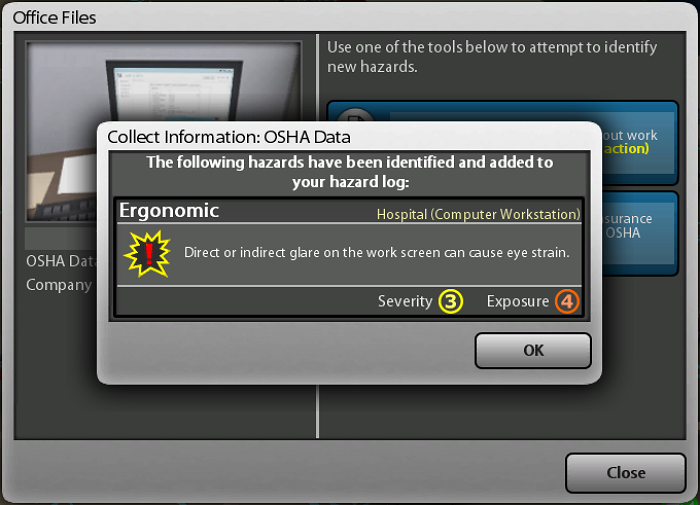
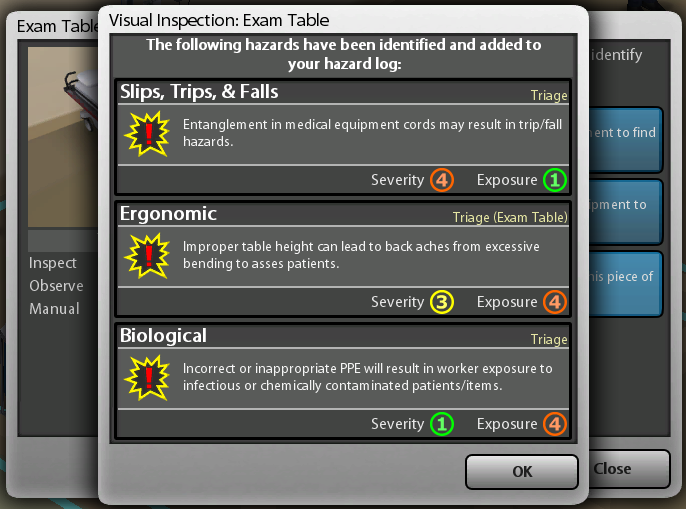
After you select any of the investigation methods, you may or may not find a hazard. Be sure to split your actions up between investigating and fixing hazards, but be sure you are still making a profit. Select OK then Close to return to the simulation environment.
Any hazards found will be added to the Hazard Log. Each action left at the end of the week earns a profit of $800.
Step 3: Fix Hazard
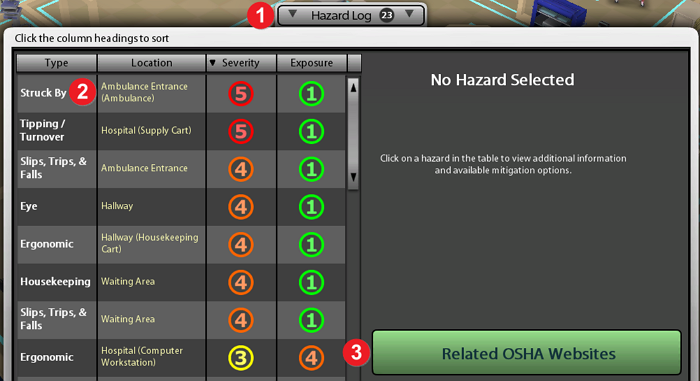
To fix a hazard, open the Hazard Log. Select the hazard you want to fix, then Fix. Note the number of actions, cost, and the duration. From here you may also view the Related OSHA Websites.
Note: You may sort the hazard list by selecting the headings of the hazard table. The more severe and exposed hazards should be fixed first to avoid an injury.
Step 4: Hazard Fixed
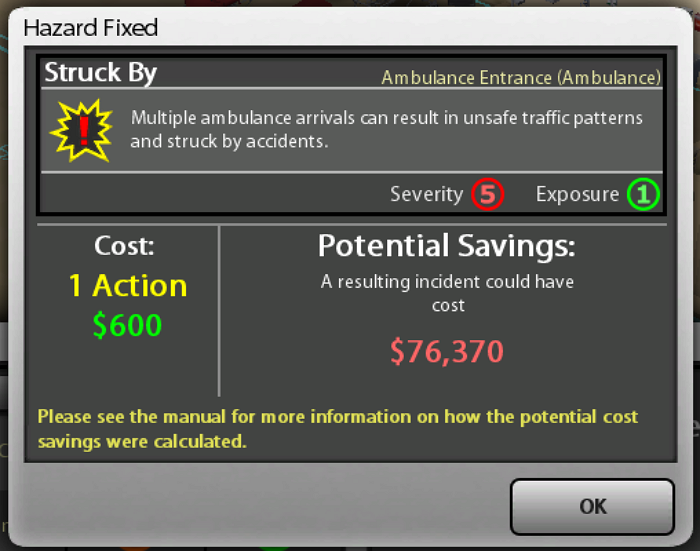
Once a hazard has been fixed, a pop-up window will appear giving you a summary including the cost, number of actions, and the Potential Savings (the cost of an injury resulting from the hazard). Select OK to return the the simulation environment.
Step 5: End of Week
Repeat steps 1-4 until you are satisfied with the week's work and profit. Select End Week # to continue to the next week.
Step 6: End of Simulation
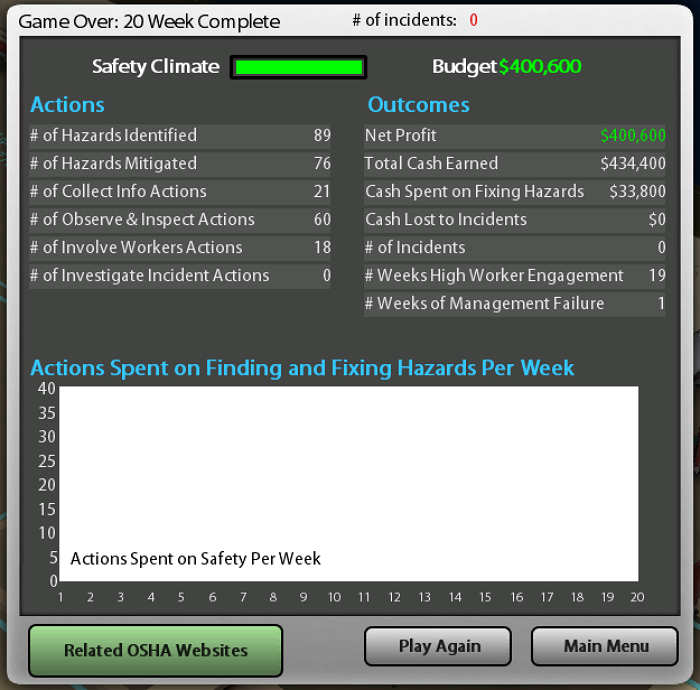
At the end of 20 weeks, a pop-up window will appear showing the game summary.
Play as a Worker
This role is much simpler than the Owner role. In this role, you will focus on only one area of the manufacturing factory to find hazards.
You have 10 "actions" per area to find as many hazards as possible.
Step 1: Investigate Hazards
Select any piece of equipment, area, or worker to investigate. This particular piece of equipment has three investigation methods to find hazards. Select any option to find potential hazards.
Take note of the statistics on the left side of the window. If you forget if you have already taken some actions on any piece of equipment, area, or worker, the numbers next to each action is counted throughout the simulation. You want to spread your actions among items that need more attention (i.e. items that have zeros next to the items on the left).
Step 2: Hazards Found
Two hazards were found. Repeat Step 1 until all 10 actions are used.
Step 3: Summary
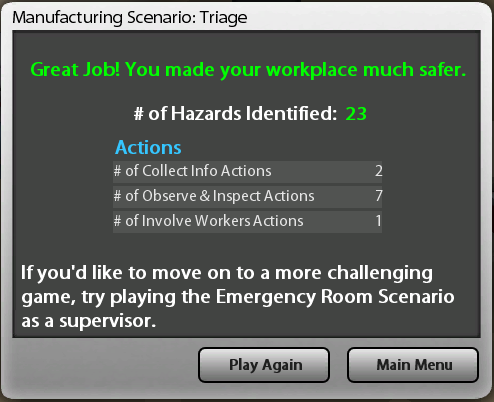
Once all 10 actions are used, a summery pop-up will appear. Select Play Again if you would like to try another area of the factory or Main Menu to return to select another simulation.
