Creating and Sharing Your Blog
Review the tabs to learn how to create a blog, share a blog, and find additional resources on Blogger.
Have a question not answered in this guide? Visit the Support page for additional resources.
Create Blog
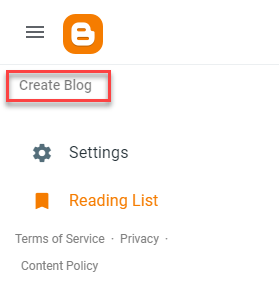
Step 1
Select Create Blog.
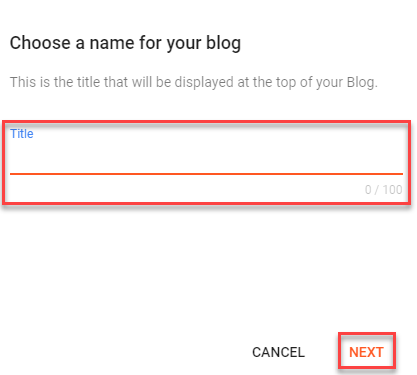
Step 2
Title your blog, then select Next.
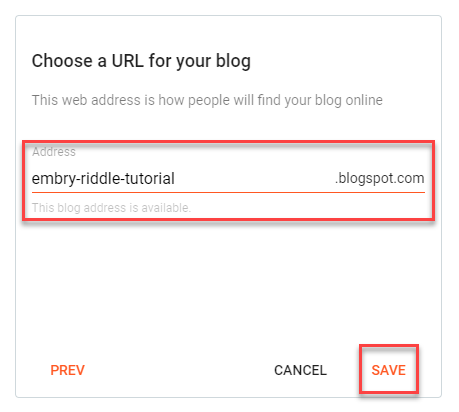
Step 3
Choose a URL name for your blog. This must be unique, so it may take some modification to choose an available address. Select Save.
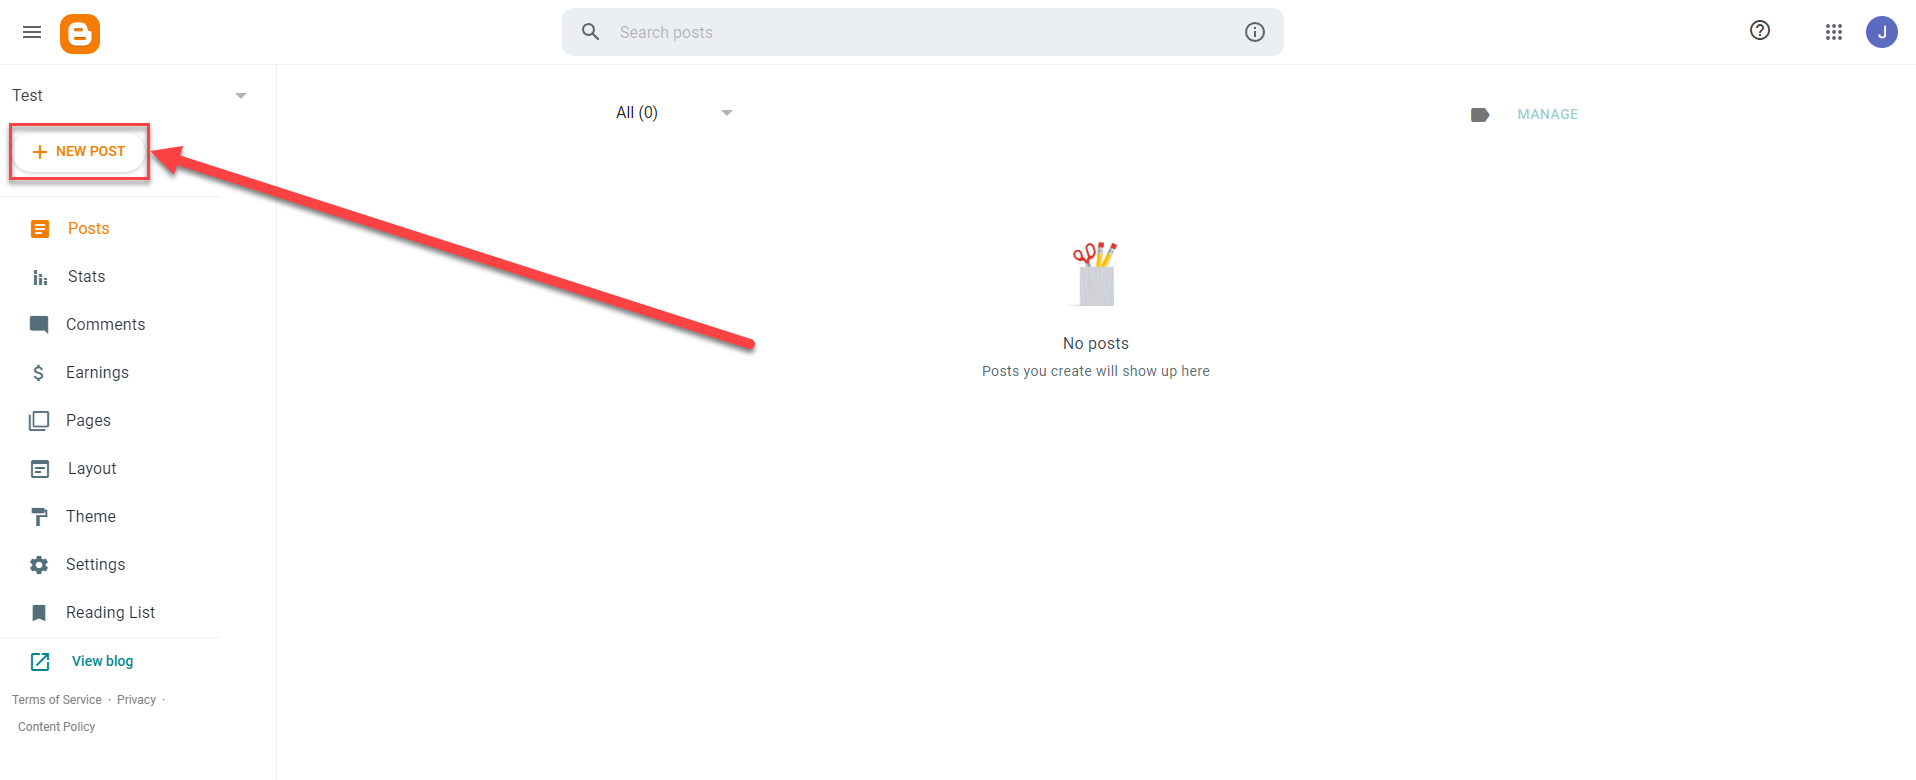
Step 4
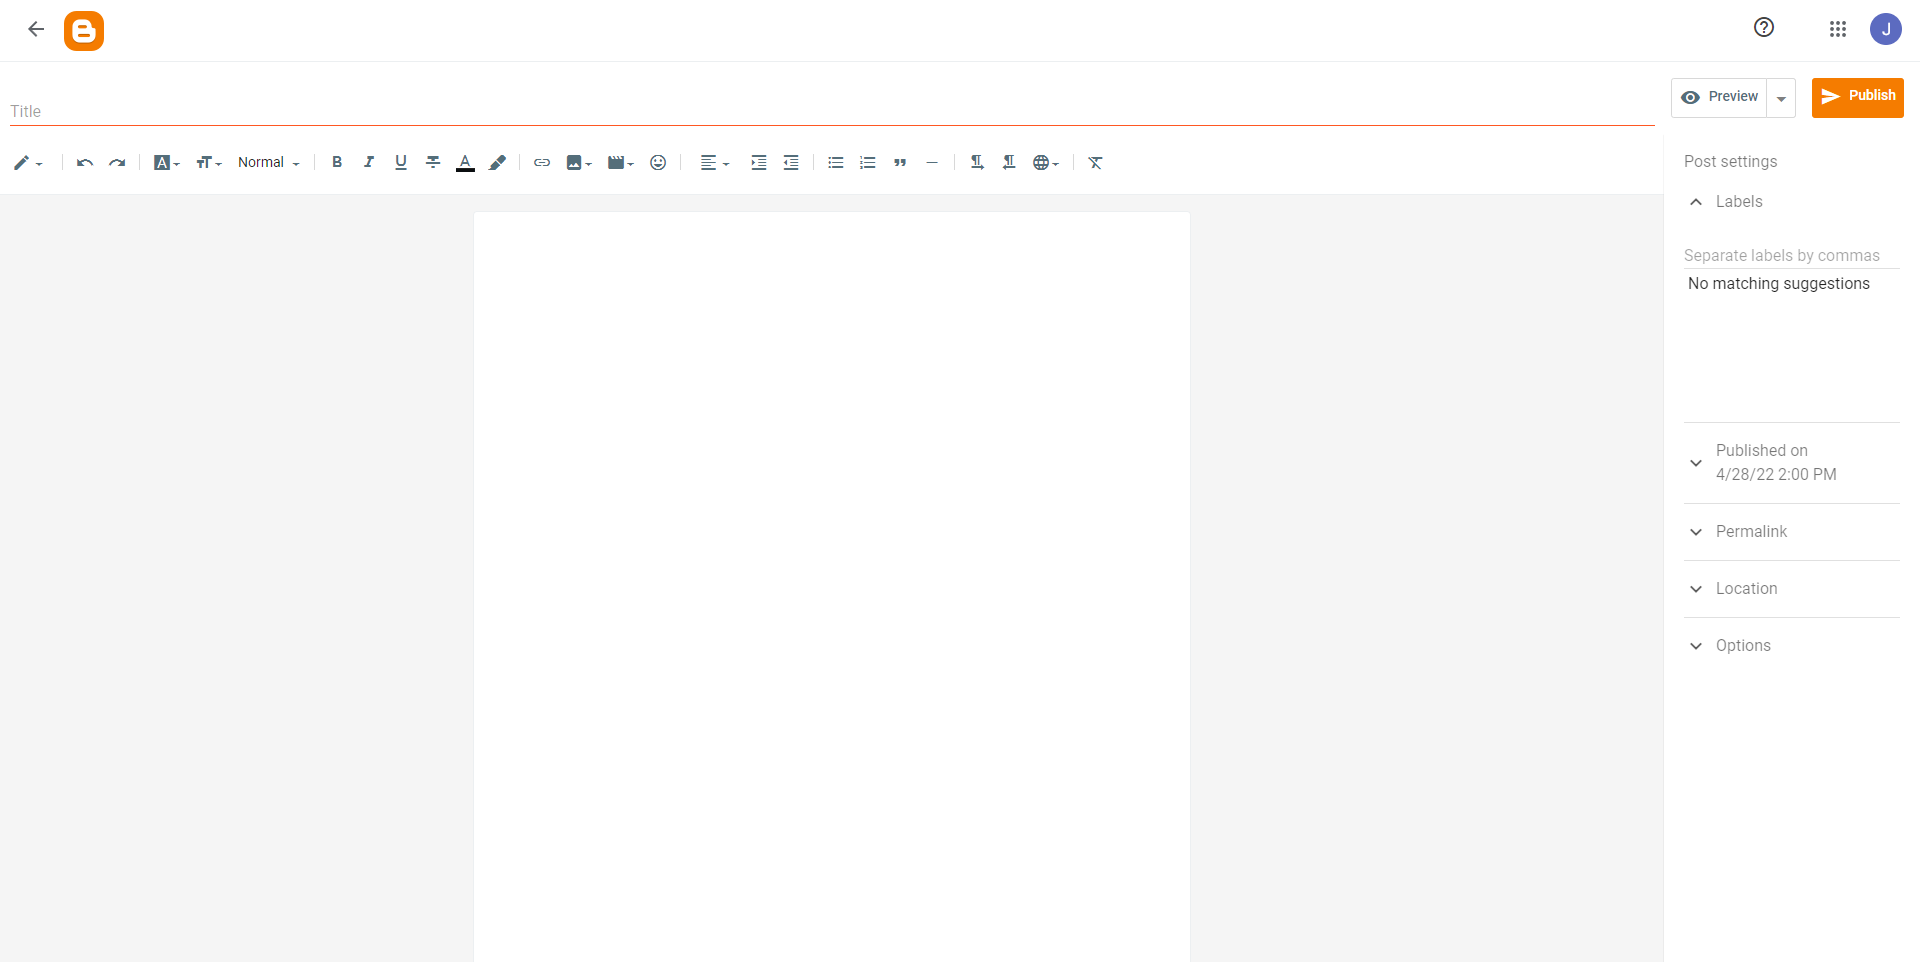
To create your first blog post, select New Post.
Step 5
Editing a blog post is as easy as editing a Microsoft Word Document or Google Doc file.
Step 6
When you have titled your post and added all the content, select Publish and Confirm.
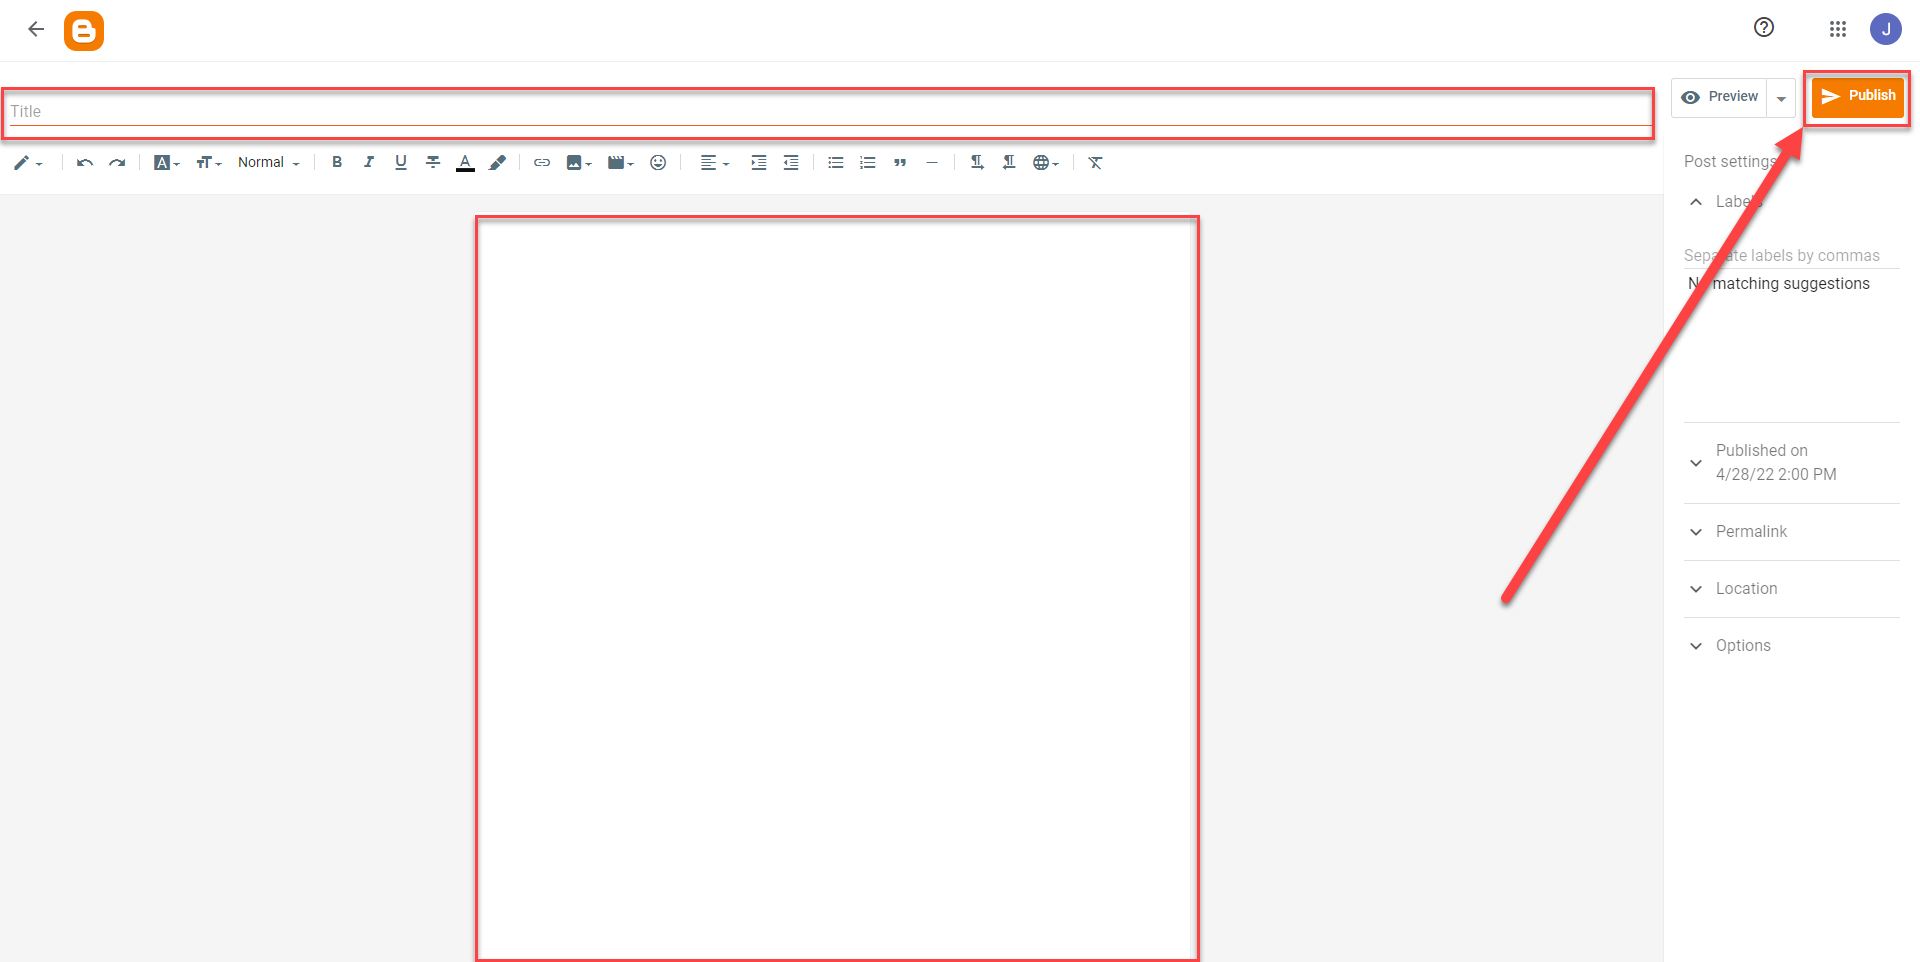
You have successfully created and published your first Blog post.
Share a Blog Publicly
Blogs created through Blogger are public by default. Blogs are accessible through the custom URL you created. You can share the blog by selecting the Share Icon on the post.

A popup will appear with several options for sharing your post.

Share a Blog Privately
You can make your blog private by following these steps.
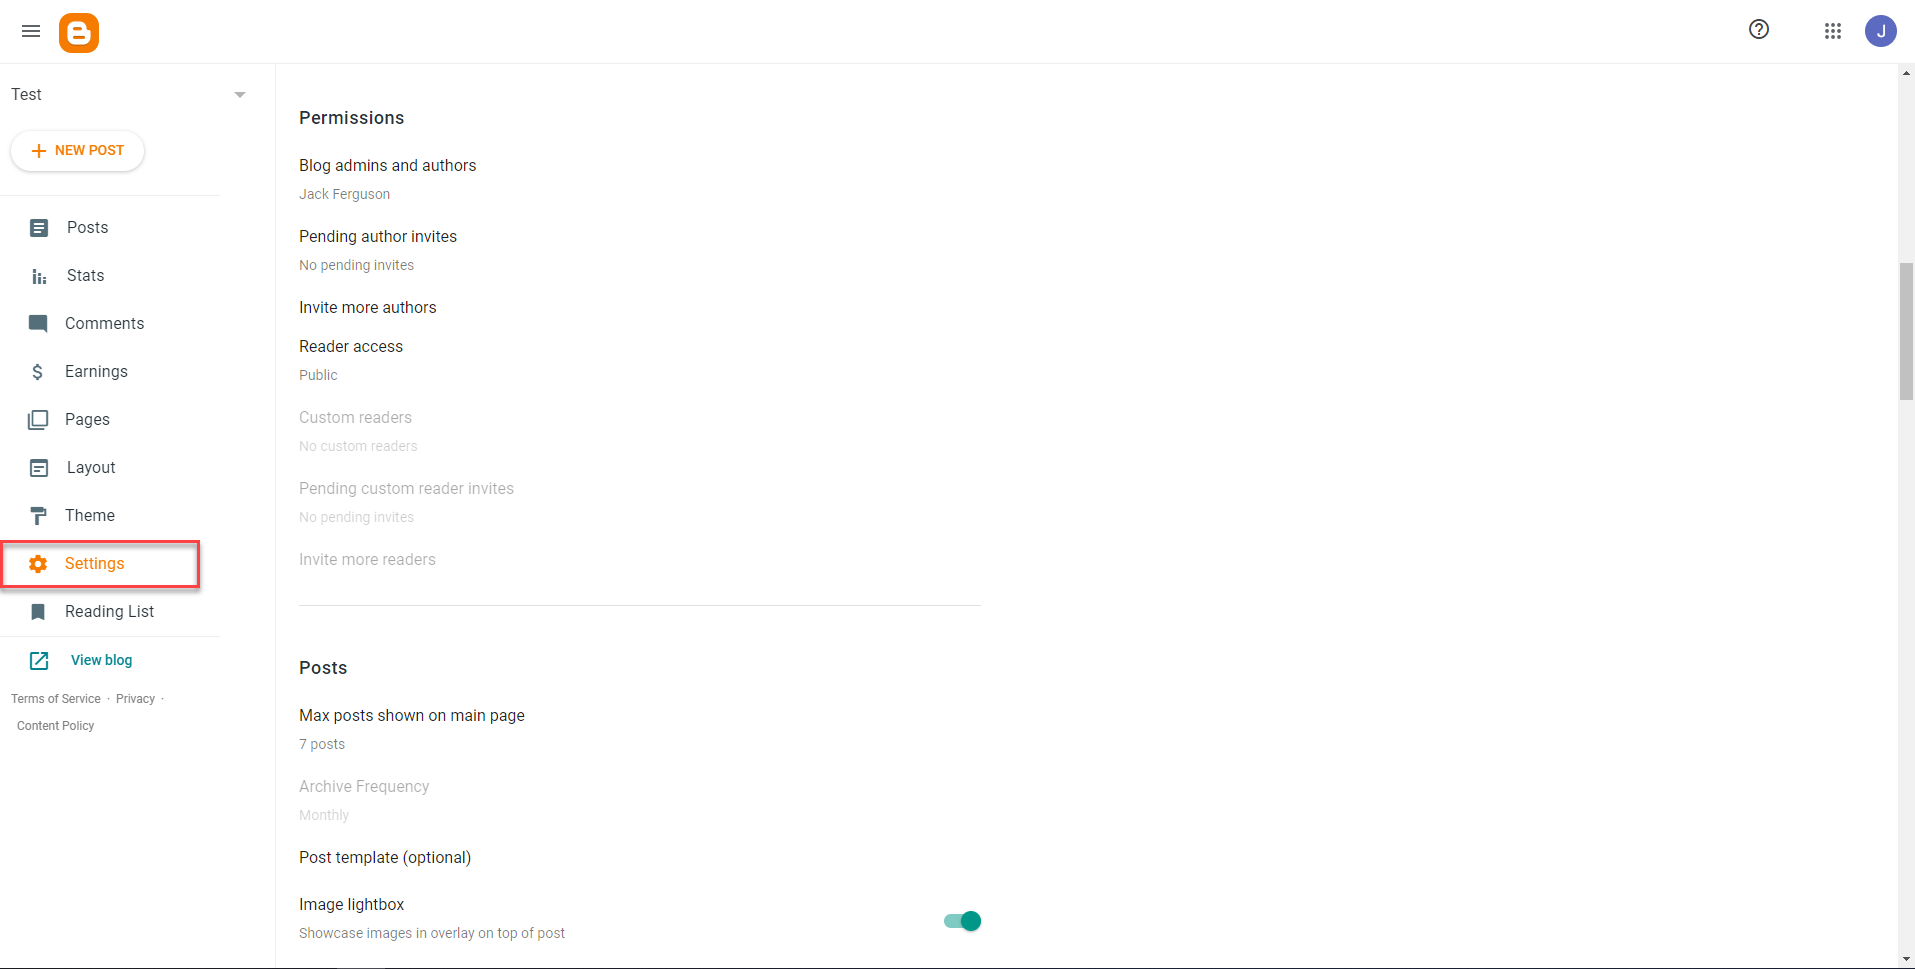
Step 1
Select the Settings tab of your blog, and scroll to the Permissions section.
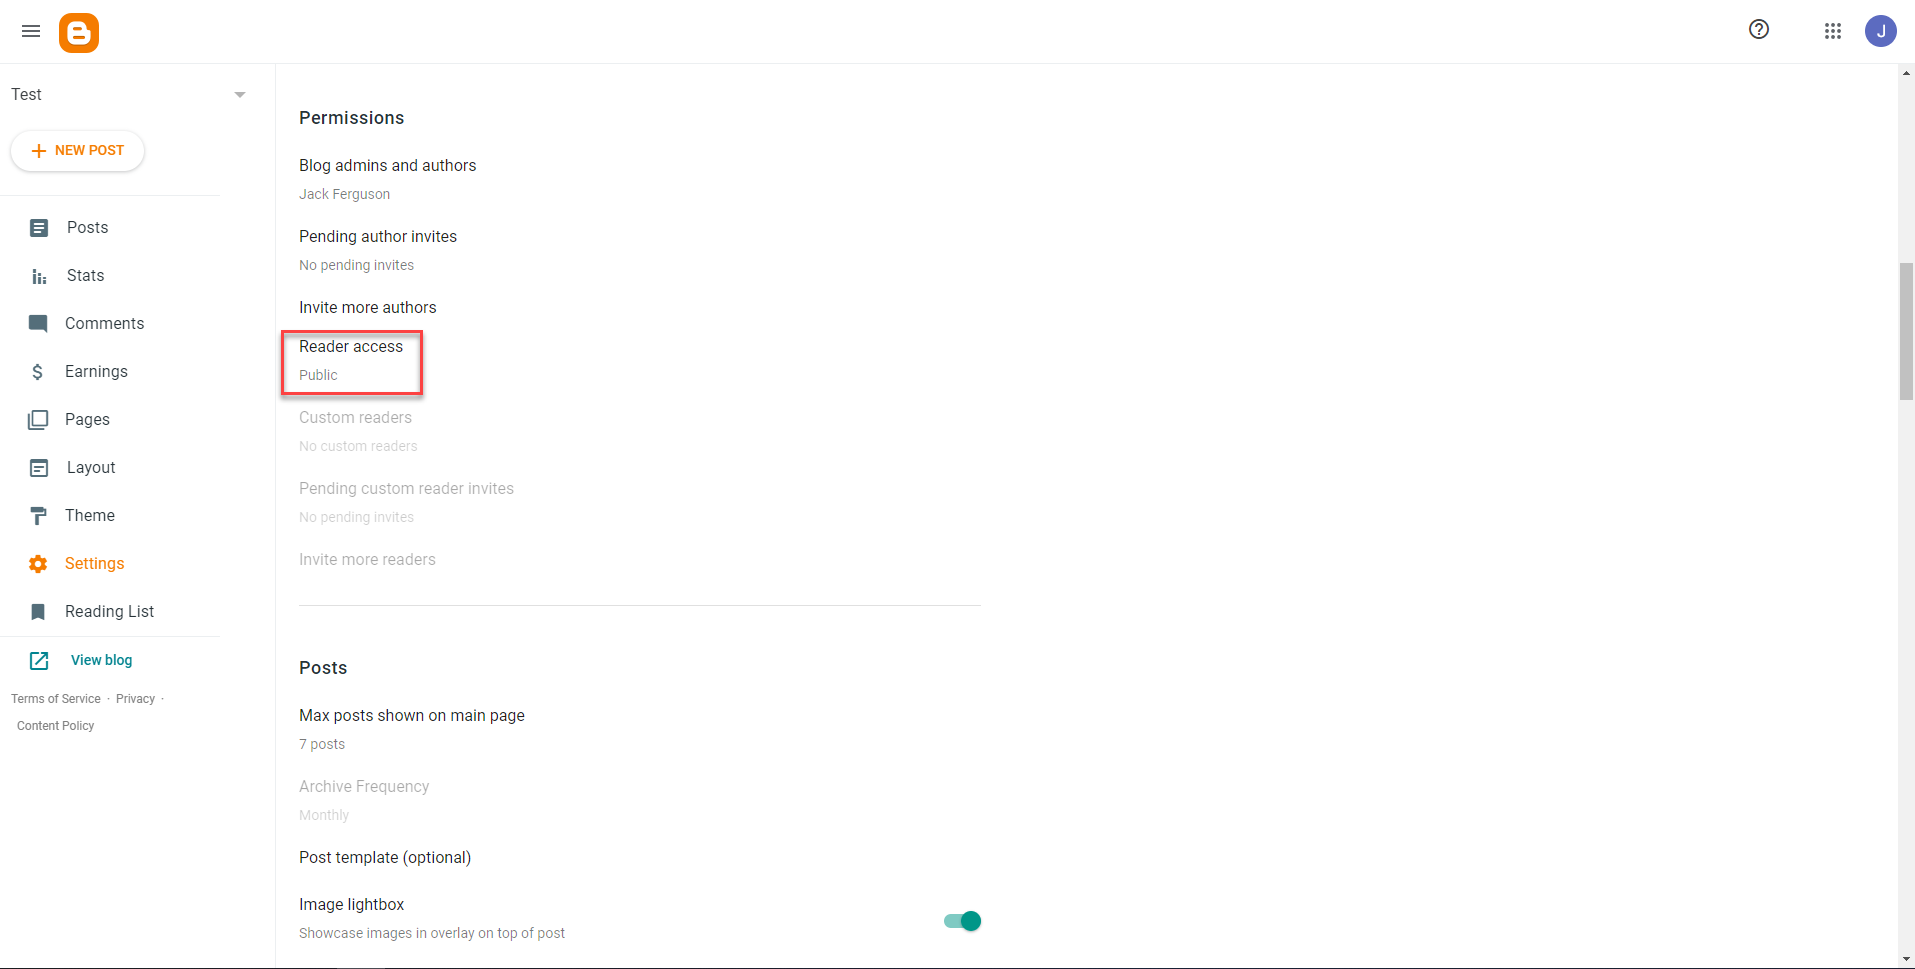
Step 2
Select Reader Access.
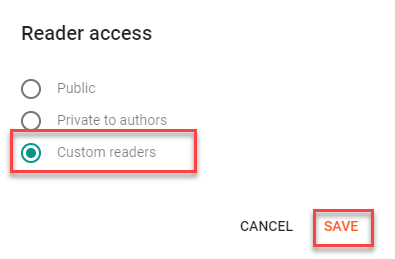
Step 3
To make the blog accessible to specific readers, select Custom Readers then select Save.
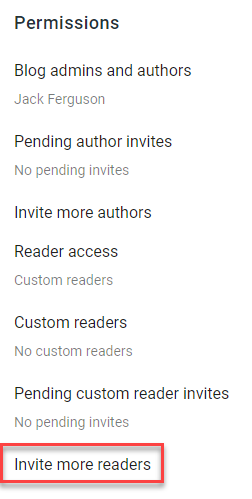
Step 4
Select Invite more readers to open the invite menu.
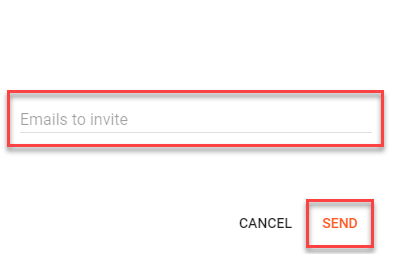
Step 5
Enter the emails of the readers you would like to invite, then select Send.
Your blog is now privately available to readers you select.
Blogger Help
Visit the Blogger Help site to browse or search for instructions. Here are some guides to answer common questions and help you get started on your blog: